Several years ago my mother in law gave my wife this really cool vintage birdcage. We always thought of it and used it as a fun rustic outdoor piece until today... BAM another idea on pinterest!! Someone used a vintage birdcage as a light fixture and it immediately made me think of our very cool cage hanging in the yard.
A trip to Lowe's and well here it is a crazy cool custom light fixture.
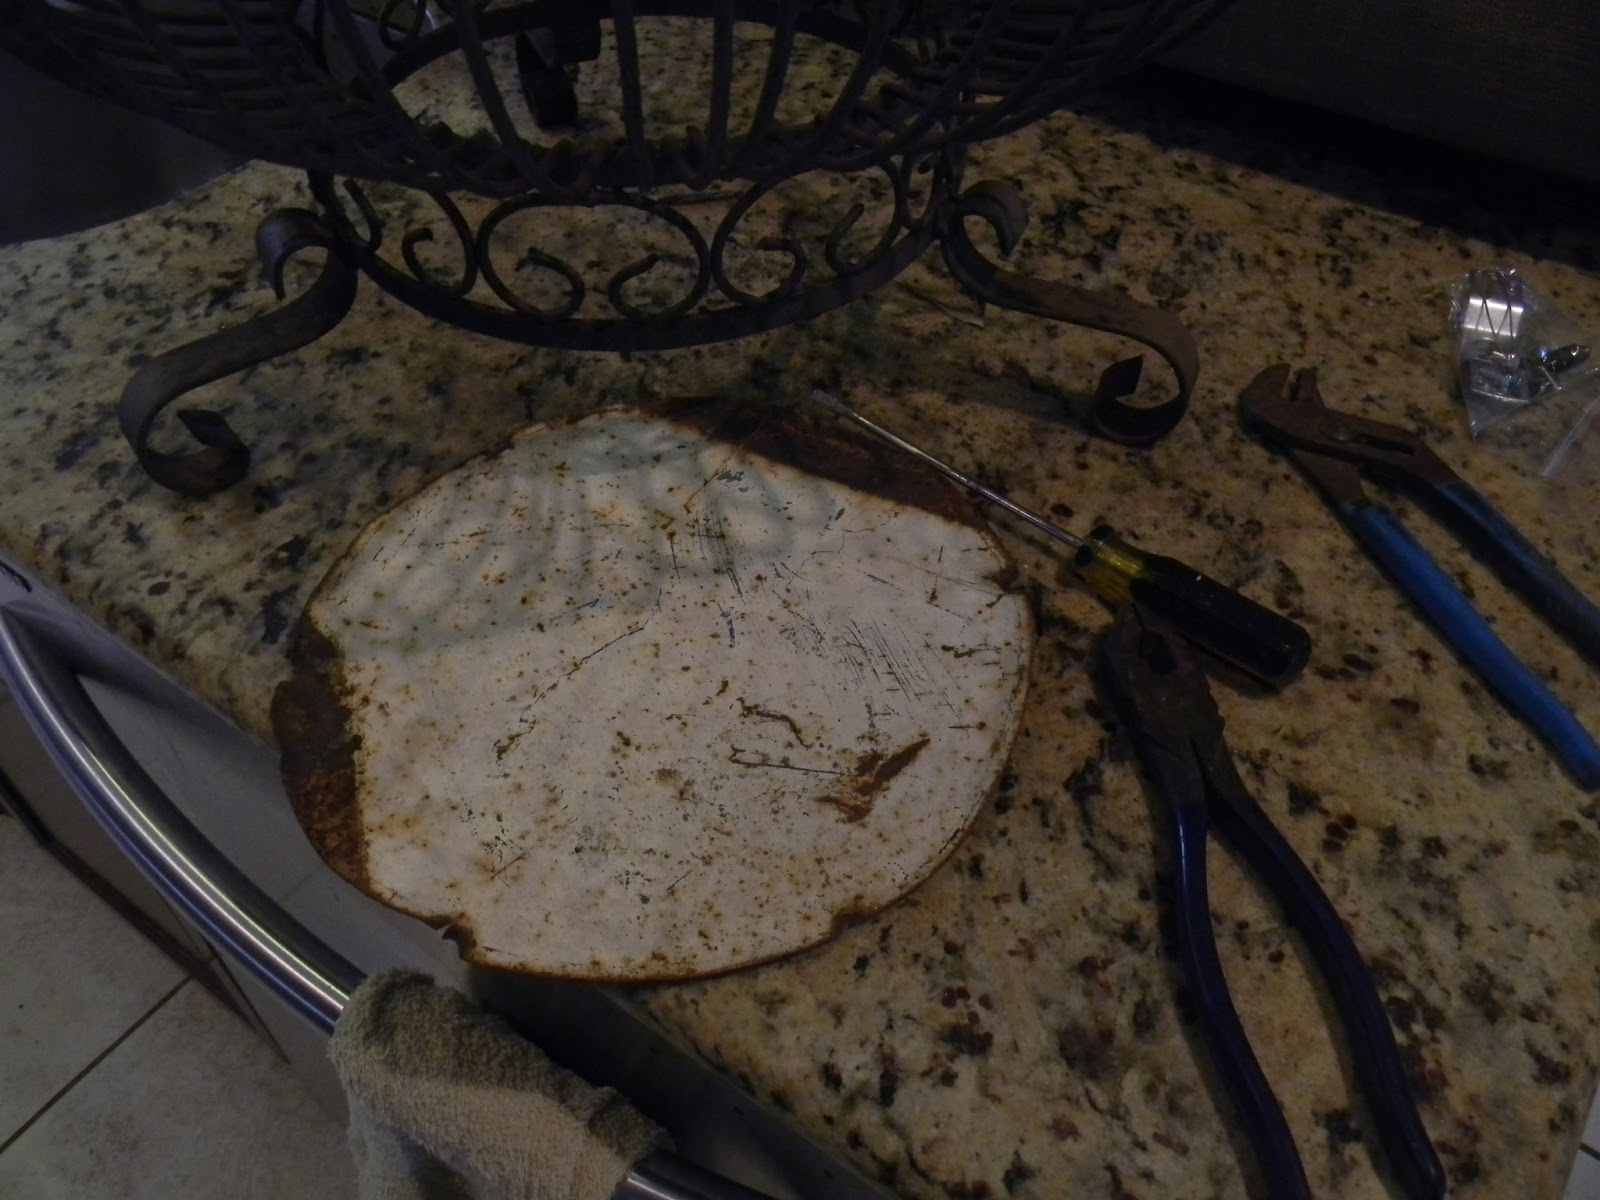
Stage 1, take the bottom out of the cage. Removing the bottom from this cage was pretty simple i just shimmed a couple of flat-head screwdrivers and pry it open a bit to break each weld.
Stage 2, run the light set up through the top of the cage. All we needed for this project was a light socket, canopy kit, a couple links of chain, and wire. Once you have your light kit wired from the bottom run your wire through your chain and tie a knot at the top to prevent it from falling through. Be sure to add a safety wire to help hold during installation and in case fixture falls it's kinda heavy don't chance it...
 |
| stage 2, running the light kit through the cage |
 |
| stage 2, looking at the light socket |
 |
| stage 3, the knot tied at the top and safety wire |
Stage 4, install the light fixture. I recommend having someone help you hold the fixture. Positive to positive, negative to negative, and ground off the safety wire.
It just happened that my existing fixture's globe was a perfect fit on the inside of the cage hiding the simple rustic look of the socket light. I'm not sure if I'm going with this look or not?
 |
| stage 4, installed turned on with the globe |
 |
| stage 4, existing fixture |
 |
| stage 4, rustic simple socket look |
This project took about 45 minutes, cost about $15 and is going to give the room we put it in a very unique and eclectic vibe. Very nice!! Oh and thanks Pinterest.


No comments:
Post a Comment
Note: Only a member of this blog may post a comment.