Thursday, February 28, 2013

rustic elegance, up-cycled pallet and curbside chair

I love doing projects that have a fantastic result with little expense. This project cost about $12.00 and that was only because I needed some material for the top a 1"x10"x8' piece of white wood. The rest was a curbside score and a few miscellaneous pallet pieces from a table I was making for my son (similar to this one on the attached link):  http://thetadbiteclectic.blogspot.com/2013/01/restaoration-hardware-style-table-done.html

So, the story goes... No sooner was I finished with that table top when my neighbor tossed out a couple of chairs.  The wheels started turning and I had an idea for the scraps... one of them was perfect for our project at hand "the rustic but elegant side table" from up-cycled products.

final product

Stage 1, acquiring your supplies for the project.
Since my son is the GM for our local ACE hardware getting a pallet is pretty convenient. But really a pallet can be found in lots of places although the heavy duty ones are worth money and a little harder to find.

*This project will use material from 2 pallets.

stage 1, the pallet
stage 1, the chair (our curbside score)

Stage 2, breaking the pallet apart.
The best way to disassemble your pallet is with a saw-zaw (demo saw). If you don't have one don't sweat it use the tried and true method with a hammer and pri-bars. It takes more finesse this way but works. What ever method you use DON"T BEAT THEM OFF WITH A HAMMER the slats break.

stage 2, the slating from my pallet

Stage 3, re-assembling the slating for the front face of project.
We're going to use the basic pallet construction for our project. In this case the (3) 2x4 boards become our framing. Start re-slating your boards from the bottom and work your way up to a desired height (we tightly re-slated until we reached 22"). Don't be bothered by the board irregularities that adds to the over all look of the project.

stage 3, re-slating

Stage 4, cut off end pieces.
After you have re-slated to your desired height the end pieces will need to be cut off. Scribe a line on each end piece flush with the last slat then cut off with your saw of chose. A demo saw again will make quick work of it but a circular saw or jig saw works.

stage 4, cutting of end pieces

Stage 5, building the sides of your project.
Both sides of the project are built the same way. Since the over all height of our project is 22" the sides will be that same dimension. Cut (2) pcs. of scrap pallet 2"x4" to that size. As for the slating you'll need several pieces (10-12) all cut to the same length (the length of these slats determine the depth of your piece) ours are 16". On a flat surface start slating the sides from the bottom up. A pneumatic nailer works best, but screws and nails will work.

stage 5, building the sides
stage 5, the front right corner

Stage 6, adding structure support to the back.
Once the sides have been constructed you need to add support to the back. Square off each side corner and pull a measurement from inside corner to inside corner. This dimension will be for the top and bottom support pieces.

stage 6, squaring off sides and adding support pieces

stage 6, viewing the back of project and the added supports


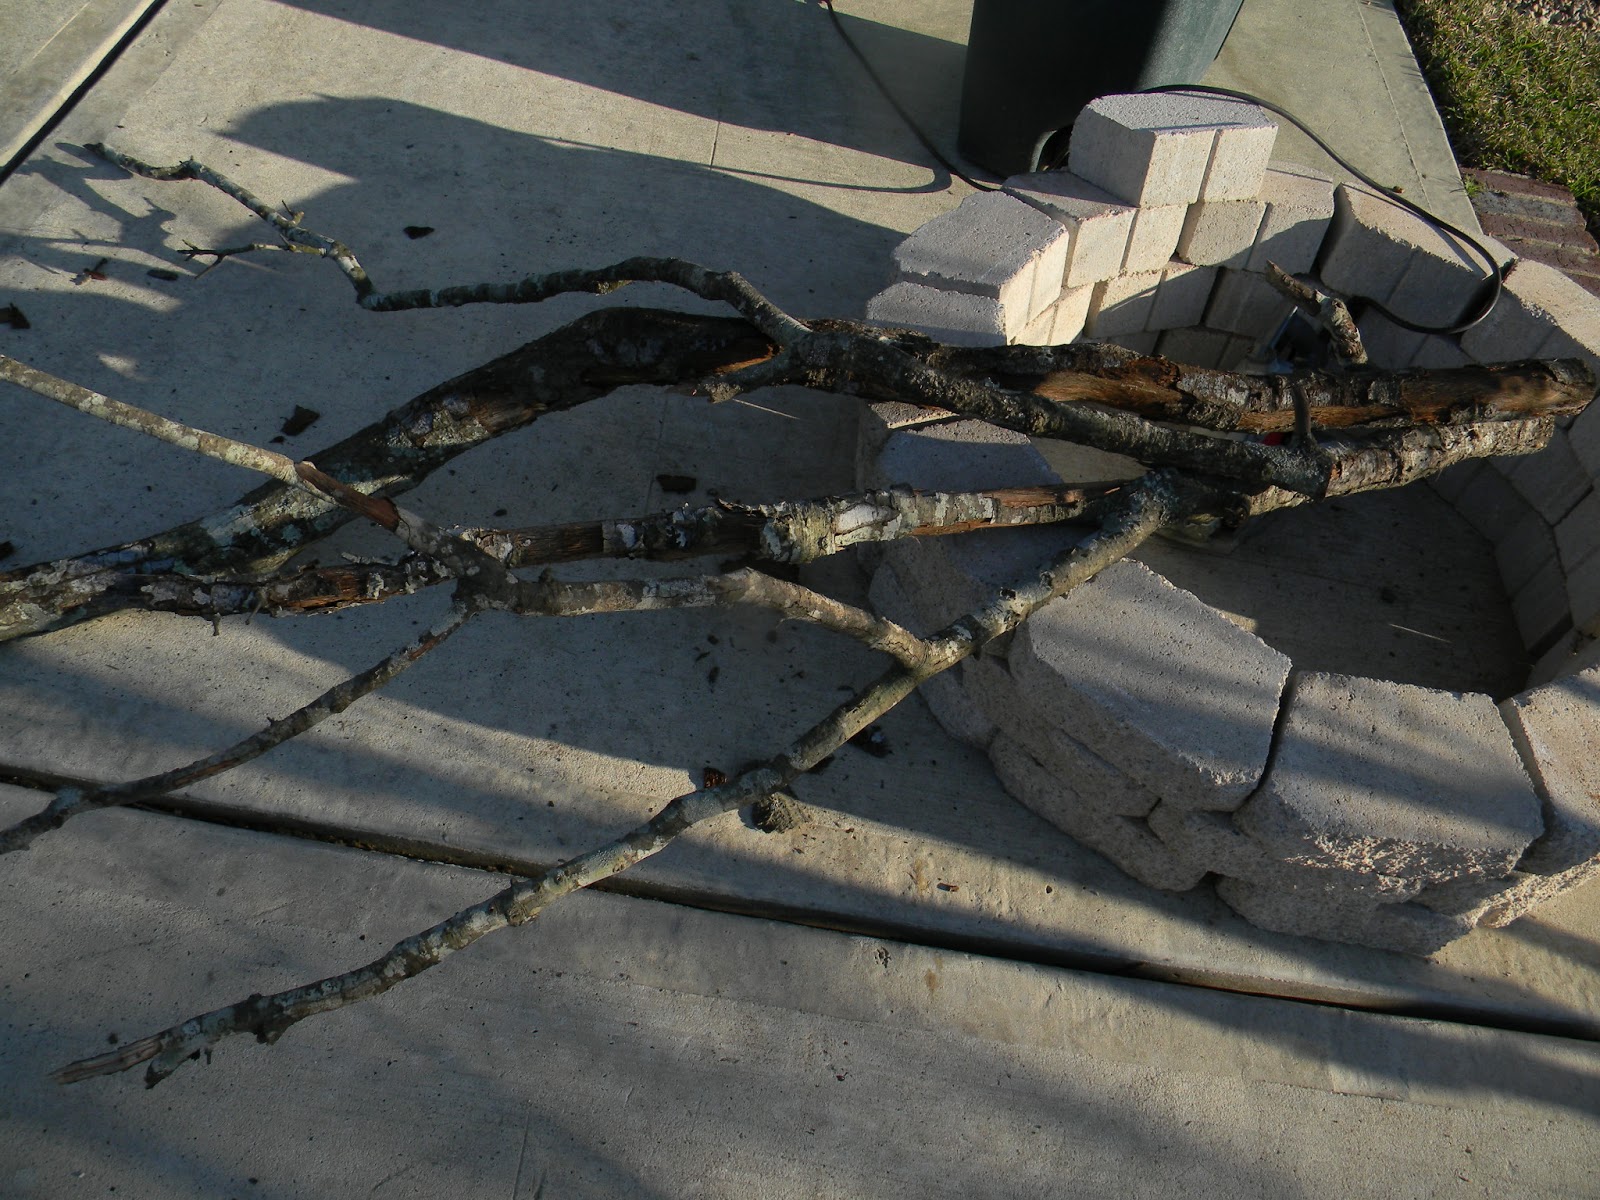
Stage 7,  adding the legs.
It's time to disassemble our curbside score and determine how much of it we want to use for the project. We're going to use the legs and the back rest detail. If you need to cut your pieces off make sure they're cut at a place where they maintain structural integrity and can be re-mounted to your project. Once you determine where legs will be mounted you need to determine the length of that leg after mounted. All your legs will need to be mounted using that same dimension or the table will be unstable. Mounting hardware can vary depending on the leg being used. What ever hardware you use make sure it's long enough to get a good bite into the supports and be sure to pre-drill (I used 3" deck screws). If you prefer a worn aged look you'll want to distress your legs at this time.

*Use a flat level surface for this stage

stage 7, adding the legs

stage 7, the legs for the project distressed
stage 7, rear legs placement

Stage 8, adding the top and back.
The possibilities for the top are only limited to our imagination. A slab of granite and a vessel sink would look fantastic on top of this. But we like to achieve big results at little cost. So, I'll settle for plank looking white wood 1"x10"x8' and once stained in dark walnut it will definitely achieve our desired result. What ever direction you go make sure to leave a 1" overhang around the sides and front. Before adding backer add your detail piece if you have one. To add the back you just need to measure up and down then across. Be sure to cut your in expensive backing (1/4" ply or 1/4" Masonite) so it can't be seen once in location about 1/4" smaller than what you measured and secure it with finish nails or pneumatic stapler.

stage 8, the project up to this point
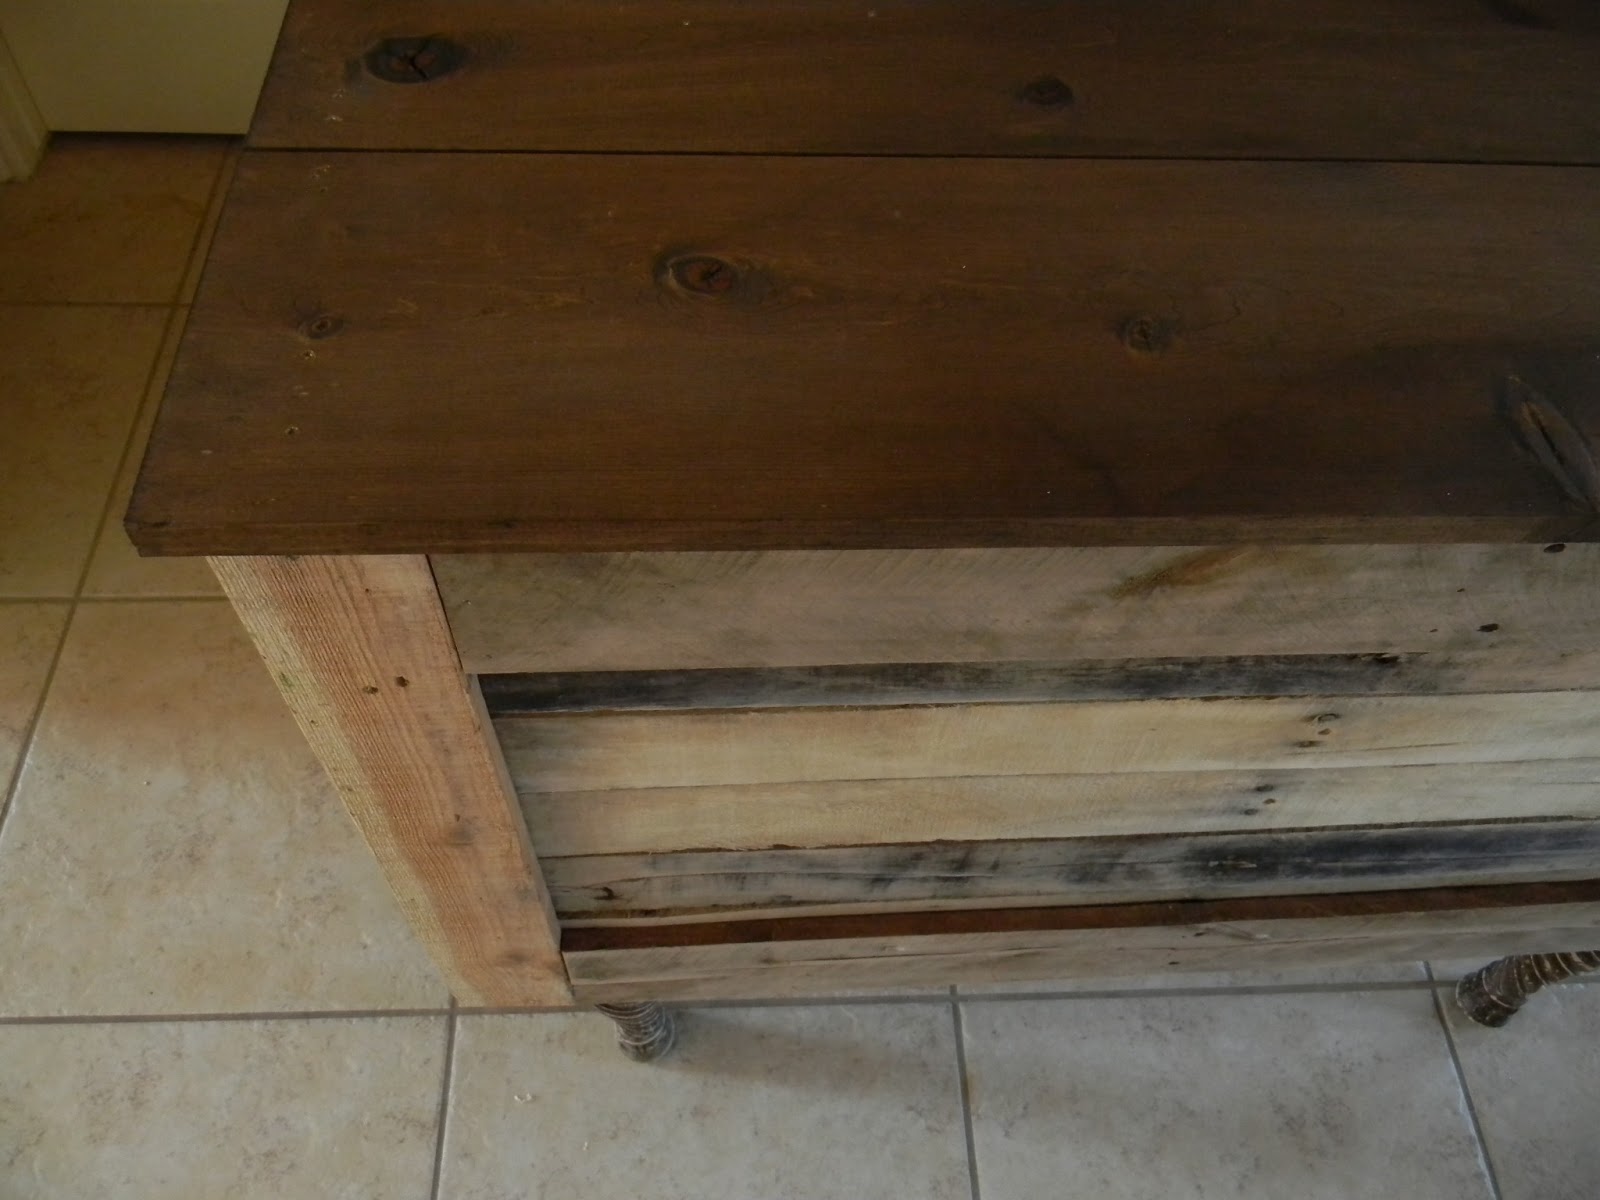
stage 8, adding the top planking

stage 8, be sure to add detail before you secure the backer
stage 8, adding the inexpensive ply backer

After that, set this bad boy in its location, adorn it the way you want and enjoy.
BAM!! There you have it another fabulous looking piece done on the cheap...

final product ready to sell


Wednesday, February 20, 2013

unclogging that nasty sink

Plumbing problems are always pretty nasty and I would be the first to advise using a professional when needed. A clogged kitchen sink all though gross isn't one of these times. In about 15 minutes you can save yourself $80 bucks or more...

Most of us have probably experienced a backed up sink as it will happen from time to time. In most cases it's easily unclogged in a few minutes with a few steps. I say why not save yourself some cash and go for it, do it yourself..

the problem (a nasty clogged sink)

Step 1, clean out under the sink. Remove anything that will prevent you clear access with a large bucket. I use a 5 gallon bucket because it has the capacity for the entire sink to drain out if necessary.

step 1, cleaning out under the sink

Step 2, place a towel on the bottom of cabinet for spillage. Most cabinets with exception to the door are made out of particle board. Particle board and water aren't a good combination so it's a good idea to protect them.

step 2, protecting cabinet bottom from possible spillage

Step 3, where's the blockage. Almost every time the blockage is at the "T" fitting as shown on the left side of photo. The T fitting isn't always on the left it simply depends what side your garbage disposal is on. An easy way to find this fitting it's always opposite end of disposal.

step 3, viewing the "T" connection where the clog is


Step 4, loosening the connection. This connection should be hand tight. With your bucket in place and ready to go loosen with your hand the connection and place pipe end into the bucket to drain. If you look close at the second photo in this step you can see the clogged area at the "T" fitting. With your finger remove the junk. you may need to remove junk from the pipe itself. If it's packed beyond your reach you can turn on the garbage disposal, this will help flush it out (Make sure your buckets positioned to catch the junk because it's going to shoot out). Once completely drained remove Teflon ring and threaded connector.

step 4, loosening the connection
step 4, draining the sink removing the clog

Step 5, re-connecting fittings and Teflon ring. It's a good idea at this time to clean off or wipe down all your pipes and hardware. Insert your Teflon ring into "T" fitting, place connector back on to the drain pipe and only hand tighten (if you over tighten the Teflon ring wont locate properly and you will have a leak). Run the water and test for leakage and water flow. If all is good than job is done, the problems solved, and you saved the cash, NICE!!


step 5, connector and ring
step 5, inserting the Teflon ring back into the "T" fitting
step 5, the final connection made
step 5, all is good and ready to go

Plumbing is a specialty trade for sure but a clogged kitchen sink is pretty manageable for an average homeowner to resolve. Be sure to follow the few basic steps and in the future save yourself a few bucks...

Wednesday, February 13, 2013

mid-century floor pendant

There's something very cool about a piece of mid-century modern furniture. Maybe I'm drawn to its simplicity of function, mix of materials, or just the lines in its design. Whatever it is a piece from that period has a strong uniqueness about it that I often like to recreate (of course with my own spin).

This project the mid-century floor pendant started from a decomposing pile of oak branches near my daughters school.

the final product

Stage 1, the find. Here's our oak branch pulled from the pile of decomposing branches. I use lots of oak for a couple of reasons it's readily available in my neck of the woods and once debarked it looks amazing.

Before grabbing your piece from the pile survey for critters and or anything else that might give you an unexpected bite.

stage 1 our find a beauty in the ruff.
Stage 2, limbing and debarking. Cut off any excess branches that serve no purpose and start debarking. Hammer, pri-bar, and chisel are going to be your best tools for this process. Start from any end and get busy, some will come off easily, some not so easy. The stubborn bark will need to be removed with hammer and chisel.

stage 2, limbing and debarking
stage 2, completely debarked


Stage 3, sand out the entire branch. I use several pieces of 80 grit paper with a palm sander and it works pretty effectively. Once your satisfied with the over all look after sanding with 80 grit then re-sand with 150 grit until you reach a desired finish.

stage 3, sanding with 80 grit

stage 3, branch after sanded with 150 grit


Stage 4, time for polyurethane. This is the one of the most rewarding parts to the project. Polyurethane brings out all the incredible character that the piece is hiding. It will take at least 3 coats of poly in order to get a good finish. Let dry lightly sand and re-coat x3.


stage 4, first coat of poly
stage 4, after 3rd coat of poly

Stage 5, make the concrete base box. While our project is drying we can make the melamine box that will form the concrete base. We want our base about 12" wide x 15" long x 3" high. this should be more than sufficient to off set and counter balance the wieght of our branch. Be sure to use melamine material when making your form (the concrete doesn't bond to it). It's that white coated shelf material at the hardware store.
stage 5, cutting out the pieces
stage 5, assembling the sides
stage 5, what the form should resemble when done

Stage 6, securing your project and getting ready for concrete. Add 3 eye screw to the base of your branch about 1 1/2" from bottom. The holes will allow the concrete to seep and settle through making sure the base grabs to the concrete after it's cured. Once you've set all the eye screws you need to make a fixture that will hold your project in place while you pour concrete. It doesn't have to be pretty it just needs to hold the project stable. The placement of the base is critical for a couple of reasons first be sure to place it so the concrete can counter balance the weight and second make sure your eye screws aren't to close to the edge where they become exposed.

stage 6, adding eye screws to the base

stage 6, my crude fixture holding the project


Stage 7, mix up the concrete. For this project I used a masons mix concrete it doesn't have aggregate. It's a bit more fragile but cleaner looking. If you don't like the color of cured concrete add a cement color as I did a deep charcoal. When your cement looks like thick pancake batter you're ready to pour. Slowly pour cement and spread out evenly with a margin trowel. After you have it some what flat use a palm sander to vibrate the form forcing all the air bubbles to the surface. I personally like the effect of the bubbles once they're popped they give the concrete character and interest. DON'T TOUCH FOR 48hrs!! It needs to cure.

stage 7, mixing your concrete and adding color
stage 7, pouring concrete into the form
stage 7, vibrating the sides to get the air out

Stage 8, making the pendant. The pendant needs to be made out of a hard-wood in order to get the crisp clean mid-century modern lines. Walnut, oak, or poplar as I used. 1"x8"x6' poplar board cut to 14" length's (4pcs). Glue and nail in to a box, putty holes, sand down, and cut the relief's in any design you like. Sand again then stain or just polyurethane the pendant 3x's lightly sanding between coats.

stage 8, the 4pcs for the box
stage 8, sanding the box
stage 8, cutting a 1/4" relief vertically where box is bonded to each other (gives a cool look)
stage 8, view after horizontal reliefs have been cut
stage 8, drill a pilot hole and add mounting hardware (eye screws)
stage 8, with hanging chain added

Stage 9, open up the form and check out the concrete. I like to sand it a bit with an 80 grit just to break edges and clean the top a bit. Wipe down with a clean rag and then polyurethane it, be advised you'll want concrete counters after this.

stage 9, concrete base of fixture after poly

Stage 10, add wire guides and light socket kit. About every 12-18' add an eye screw as a wire guide. Be sure to follow the natural flow of the branch so the screws and wire take a back seat to the branch itself.

stage 10, adding eye screws and wire socket kit
stage 10, the base of the wire kit has a switch for easy on off
stage 10, view of the simple socket light


And Bam!! Here it is a very cool looking mid-century floor pendant that has big style without the heavy price tag of a genuine period piece.